Tromsø, some 350 kilometres north of the Arctic Circle, is in the middle of the Aurora belt, which in Norway stretches from the Lofoten islands to North Cape (and Svalbard). The belt called the ‘Northern Lights Oval’ makes Tromsø and north Norway ideal for chasing the Aurora. Three times a week, from 2 November through 29 January, Rødne Fjord Cruise embarks on a unique cruise in search of the lights in the total darkness of Polar Night. Most aurora hunters want to go home with great photos of this amazing light show, which are so photogenic but also so hard to photograph. So we have collected some of the best tips for photographing the lights.
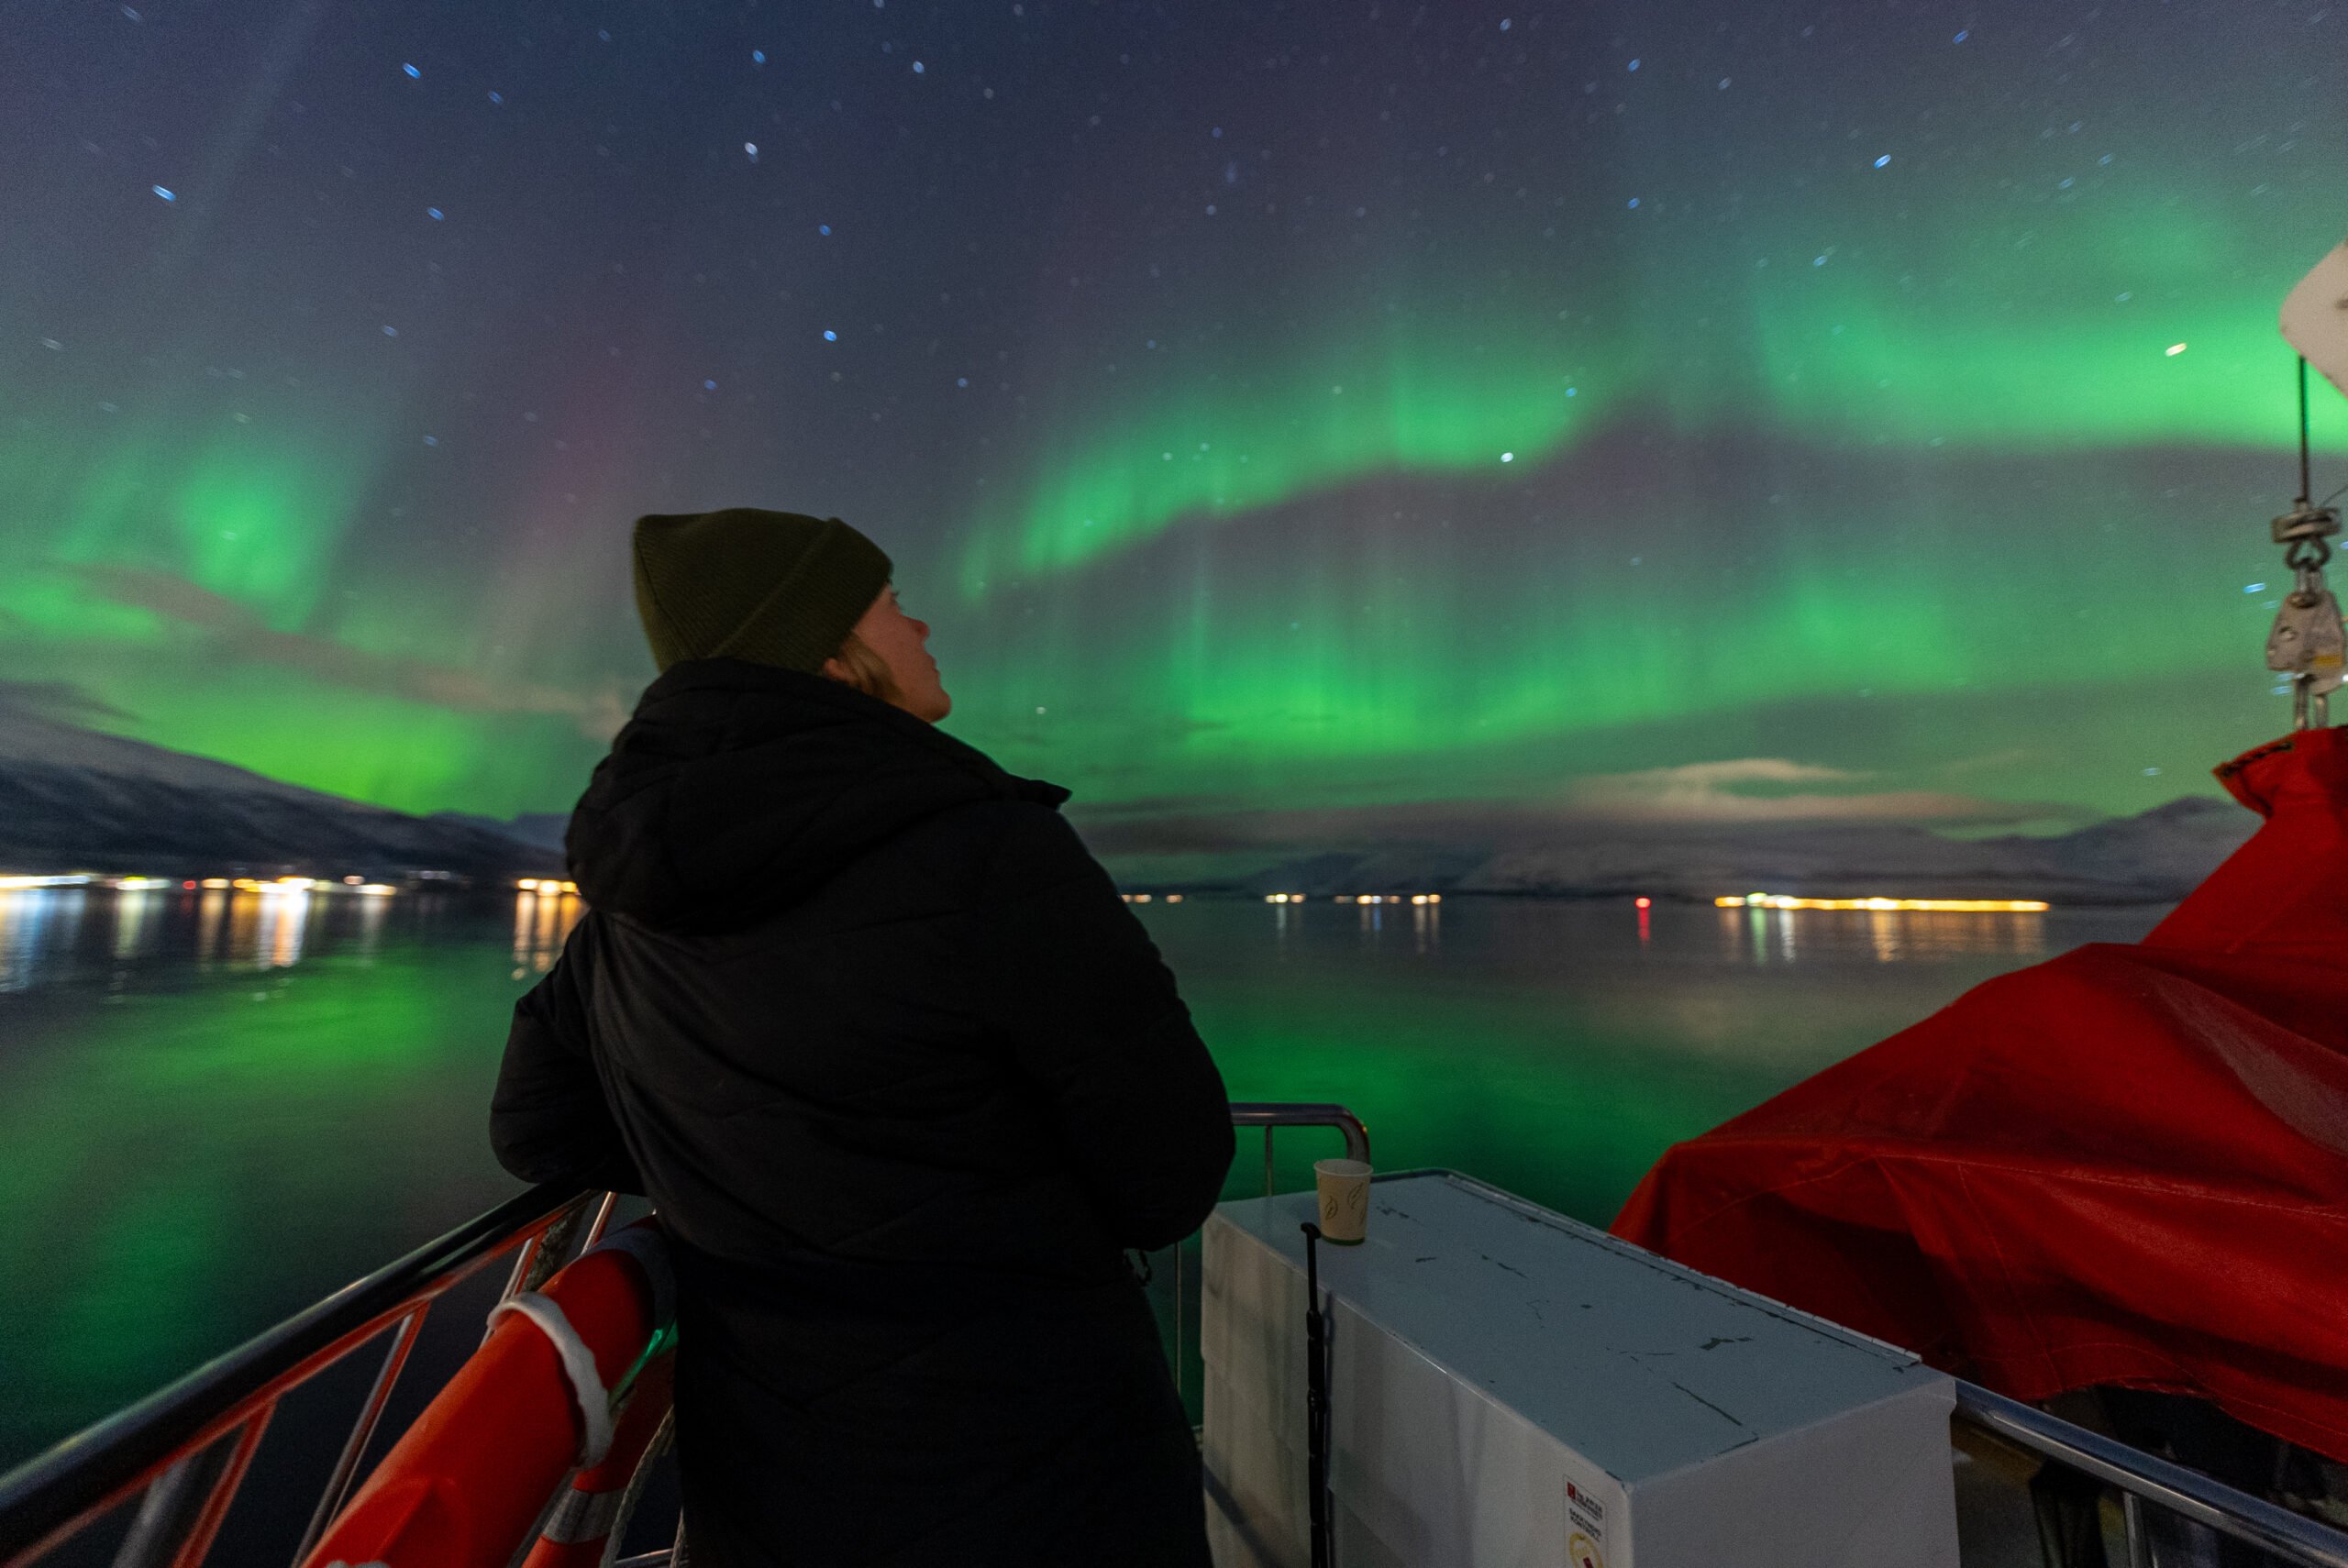
What to bring on a Northern Lights hunt:
- A quality camera! Either a good DSLR, or a high-quality system camera and a wide- angle lens.
- To get sharp pictures, use a tripod to hold the camera perfectly still.
- Using a tripod, you can reduce ISO value and thus reduce noise in the photos.
- An extra memory card: Images with long exposure times create large files and take up more space, especially if you use RAW format (recommended). Plus, you might want to try for some video or a timelapse photo.
- An extra battery or two: The Arctic air is cold and drains batteries quickly.
- Power bank for your phone.
- A headlamp: Useful for setting up the camera in the dark.
- Remote control to avoid camera shake during long exposures. You can also use the camera’s self-timer and, for some cameras, a smart phone app.
Practice makes perfect, so test your equipment and hone your night photography skills in advance. Pictures of the Aurora are generally better with something interesting in the foreground, such as mountains, the lights reflecting on the water or even the bow of our boat.
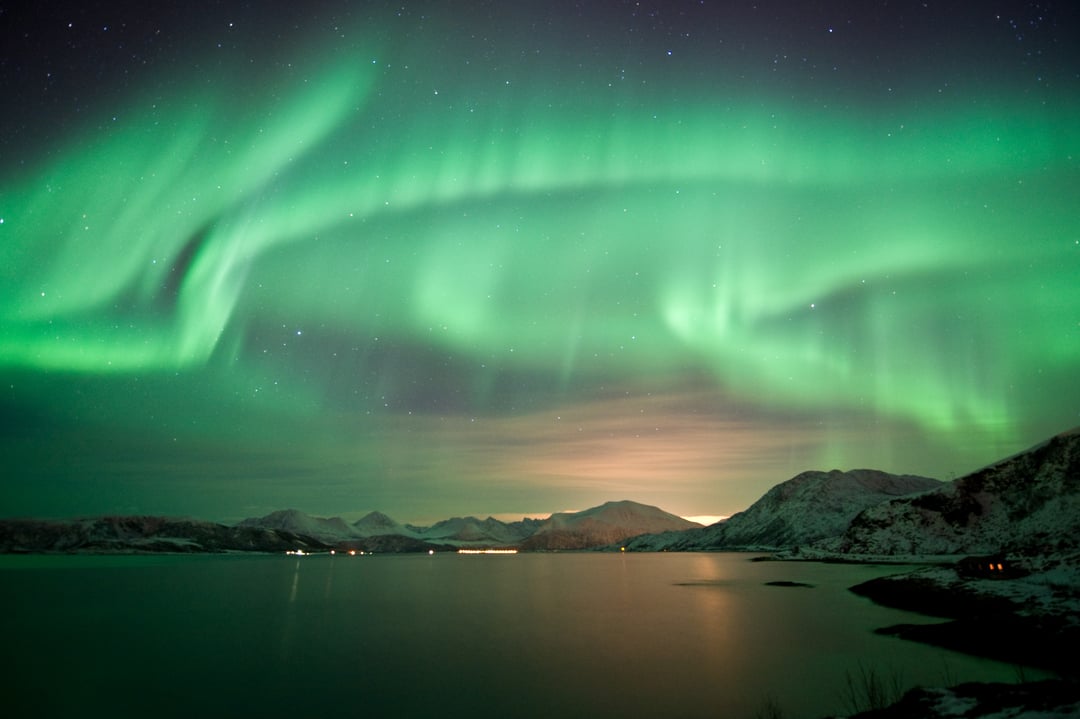
Camera settings for photographing the Northern Lights:
Use manual focus. This is often done by turning controls on the camera or using the focusing ring on the lens itself. Set focus to infinity and check it by focusing on a distant star or point of light.
The next step is to select the ISO, which adjusts the light sensitivity of the camera. It’s important to consider light conditions. The darker it is, the higher the light sensitivity must be. An ISO of 1600 is a good starting point. Take some test photos to judge the quality. Keep in mind that the higher the ISO, the more noise you get in your pictures.
Then comes the final setting: Shutter speed, which must be longer when it’s darker outside. If you start at ISO 1600, try a shutter speed of around 5 – 10 seconds. The longer the exposure, the more light reaches your camera’s photo sensor.
Then test your settings by taking a few pictures. If you practice ahead of time, it’ll be easier to quickly set up your camera when the big Northern Lights dance begins.
Finally, as we have said, use a remote control or a self-timer. Set the delay to at least two seconds to allow the camera to settle down so it doesn’t move or vibrate. Camera movement causes blurry pictures.
Can I take Aurora photos with my mobile phone?
If you have one of the latest smartphones, you can take pictures of the Northern Lights. The pictures will probably not be of the same quality as those taken with a proper camera, but they will have good enough quality for use on social networks. Use night mode and a tripod. Or feel free to set the phone to manual setting, if it has it, and use the same tips as above. There are also apps you can download to improve night photography.
Dress up for Northern Lights hunting
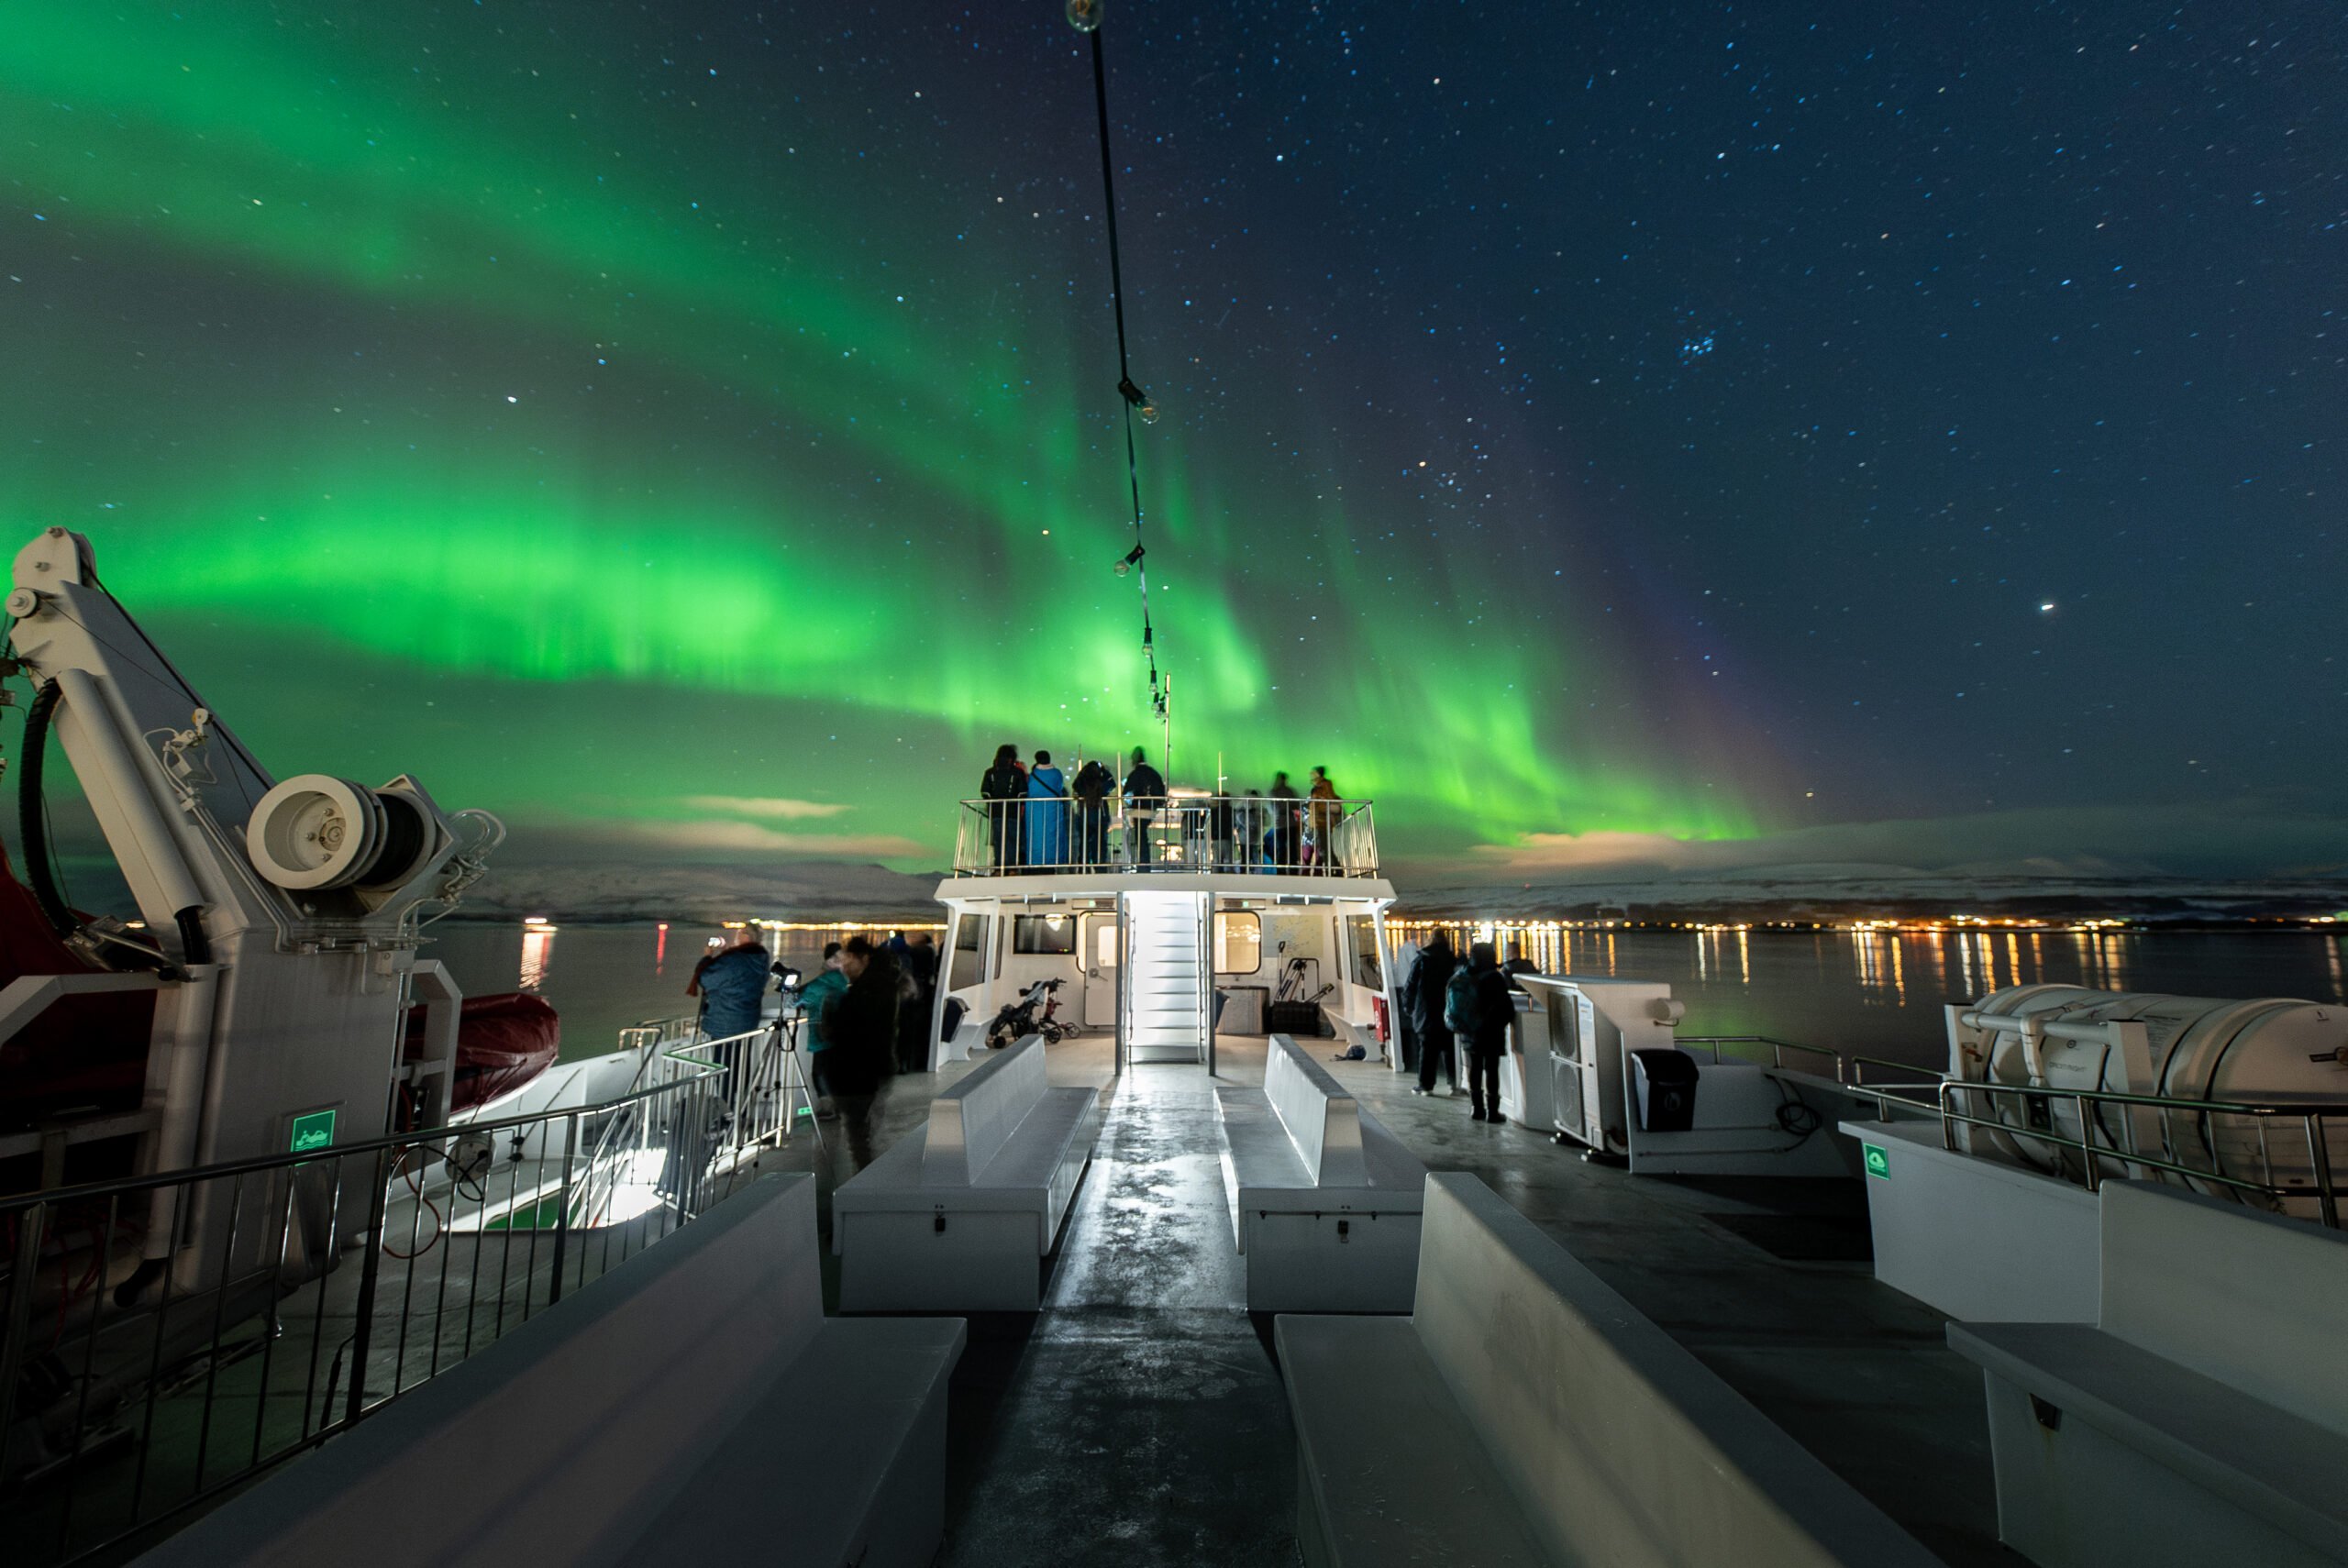
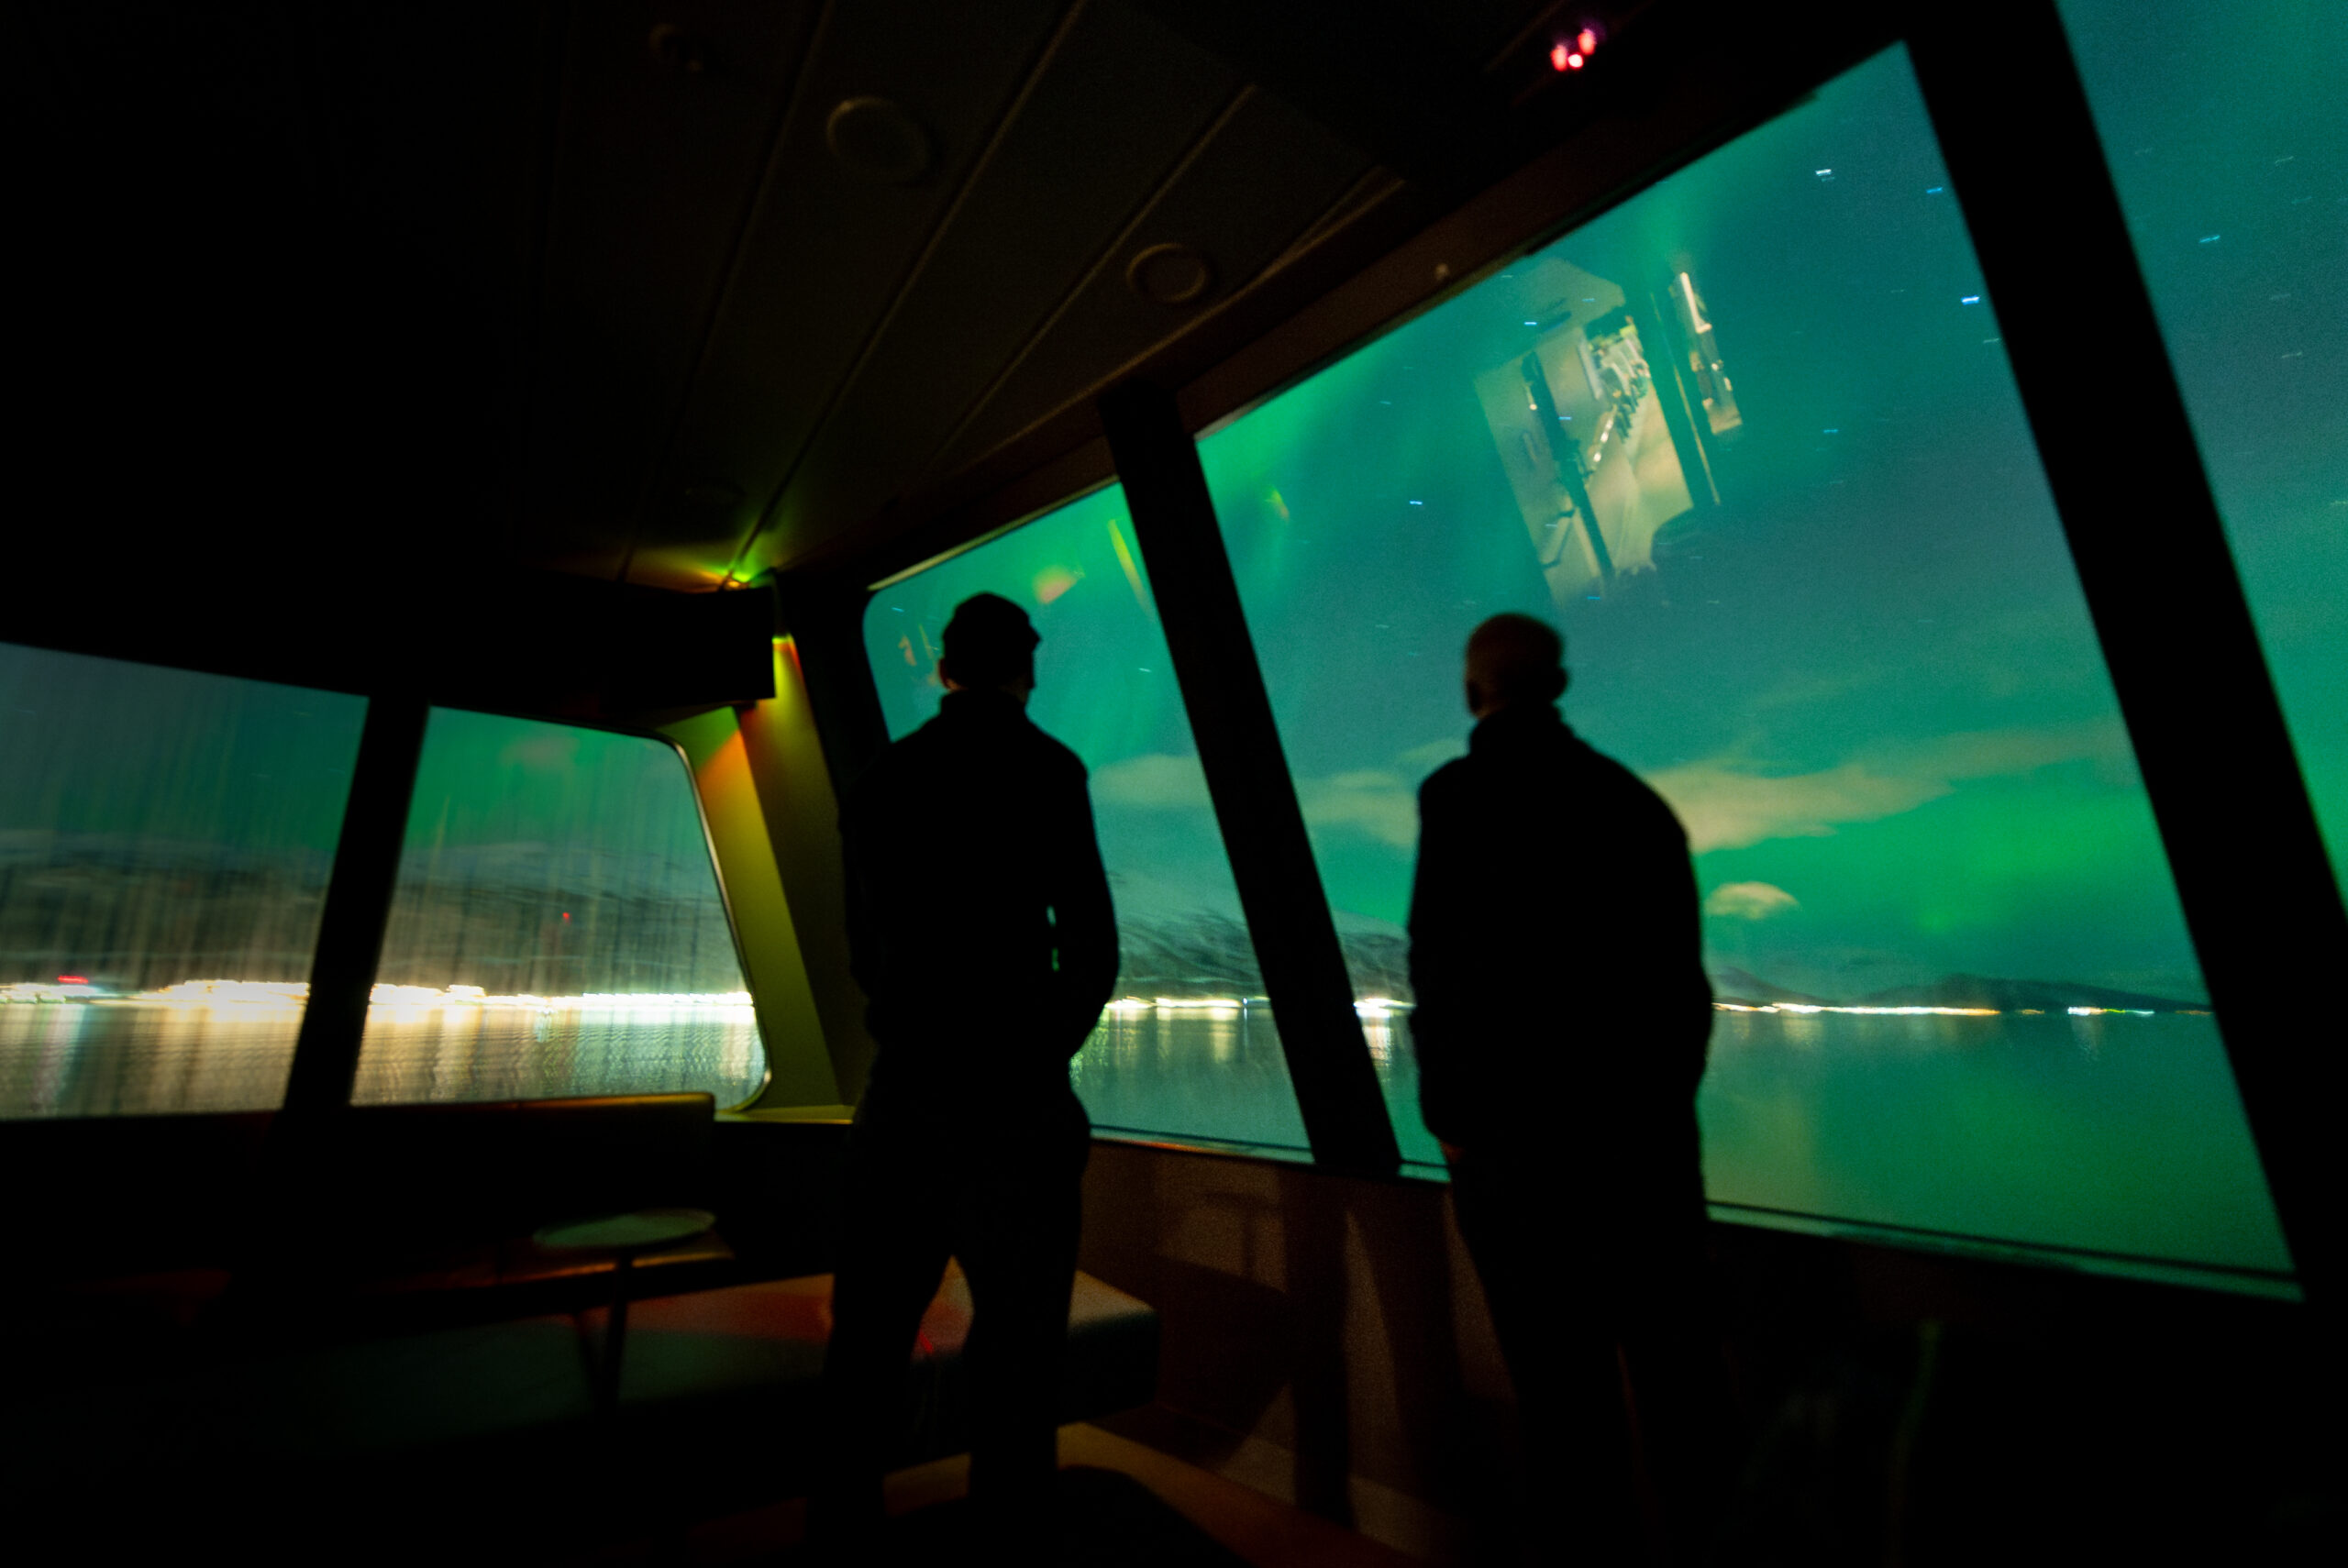
Even though the lounge is warm and comfortable aboard our boat MS Rygerdronningen, our guests usually like to watch and photograph the lights from our outside viewing decks. So dress well!
Wool equals warmth! A thin wool long underwear (top and bottom) is a good start. Avoid cotton as the innermost layer as it can often become cold and clammy when you sweat.
Dress in the layer principle! That’s makes it easier to add layers of warm cloth when you head out on deck and then take off when you go back inside to relax in our warm cabin. You should also bring a windproof jacket, trousers, a good hat, scarf, mittens, and warm shoes when headed outdoors in the Arctic winter. Many use boots/shoes that are one size too big, because shoes that are too tight can make your feet feel cold before the rest of your body.
Northern Lights photo tips in brief:
- Use a tripod and self-timer/remote shutter release
- Set the camera to manual
- Use infinity focus on the lens, use a distant star or mountain as a reference.
- Wide aperture (F-stop) F2.8 – F4.0
- High ISO between 1600-3200
- Slow shutter speed, start with 5 – 10 seconds
It really is a good idea to practice ahead of time. Test out your camera and your skills by taking some night photos in advance.
MS Rygerdronningen has plenty of space outside on deck for tripods and inside the warm saloon we have numerous charging points for phones and cameras!
Good luck hunting for the Northern Lights! We would love to see your photos, so please tag us with @rodnefjordcruise and #rodnefjordcruise

Top 5 things to do in Bergen
Bergen: The city between the seven mountains and the gateway to the realm of the fjords. In Norway’s second largest…

Stavanger top 5 things to do
Stavanger, Norway’s fourth largest city, is set in breathtaking surroundings. With mountains, fjords, near sandy beaches and with an intimate…
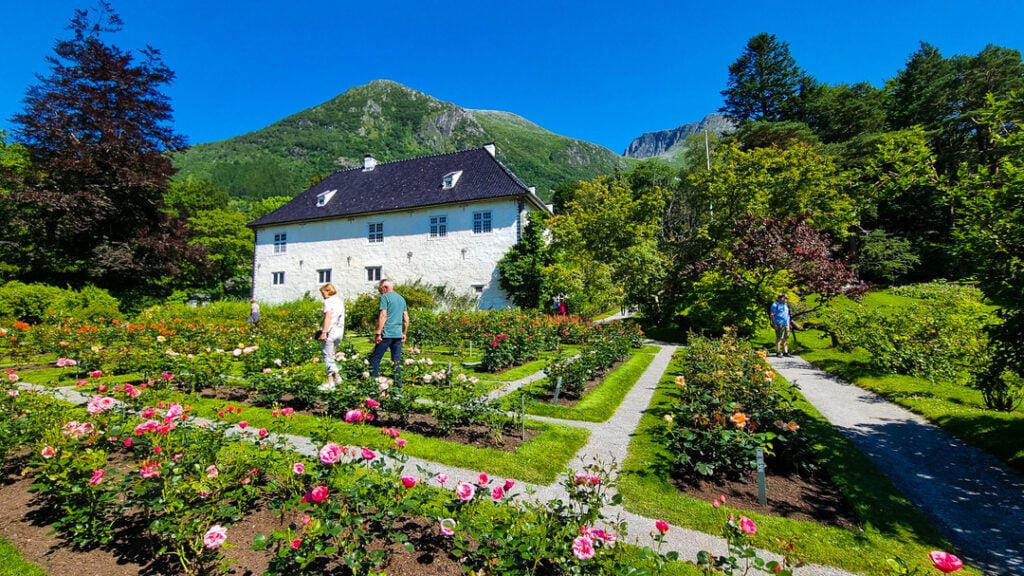
Rosendal and the beautiful Barony
At the mouth Hardangerfjord is the village of Rosendal, an idyllic oasis of charm, beauty and history. It is home…

Slottet: The Castle, a downsized Preikestolen!
Experience the full day hike to Slottet “the castle” during summer. Through the narrow Mostraumen strait and fjord where beautiful…

